Hello World! Starting Ruby on Rails
)
Journal 01
With guidance from Dennis Hotson and the Ruby on Rails guide
Welcome to my first journal as I jump into coding. Here I’ll recap what I’ve been learning and exploring – a way to share and for me to remember. Quick disclaimer that this won’t be a fastidious documentation! Just what helps me + charts this journey.
The aim is to build a version of the project I’ve been dreaming of (and quietly working on) for the past ~3 years. Its working name is The Look Book and I’ll post more about it soon. It is what I’ll be building, though, and I’m excited for this journey!
It always starts with preparation…
Ok! So, it does take a few steps to get started… There’s a bit of downloading and installing required.
Let’s fast forward:
- Installing Ruby on Rails, SQLite3, Ruby gems…
- Installing a bunch of other required parts through the Terminal and Homebrew
Get the server running + I have a dev environment!
Terminal Learning: Need to start the server and keep a tab open with it running. (Also $ in code is a note to do the action in Terminal.)
Navigate to the right directory (cd) then:
$ bin/rails server
The url http://localhost:3000 will take you there – well, if you’re on my computer…!
How does Ruby on Rails work?
Ruby on Rails is a framework (Rails) written in Ruby programming language.
There are a few main components to learn about. Routes, controllers, actions and views – and further down the track; models. Here is my (probably very imperfect) understanding of them.
Route: This is what we added first and it maps the url to the correct action. In this case, it was the index.
I then needed a controller which we generated in Terminal. This auto-creates a number of files including the controller file.
Controller: With the convention of leaving the index action empty, it will automatically render the view that matches the name of the controller. So I guess this also helps map the url to the right view. It will also let us add in other actions later.
View: This is the ‘template’ of sorts. I can add Ruby and HTML here to determine what is shown on the page.
This is where I can add my first text —
<h1>Hello world!</h1>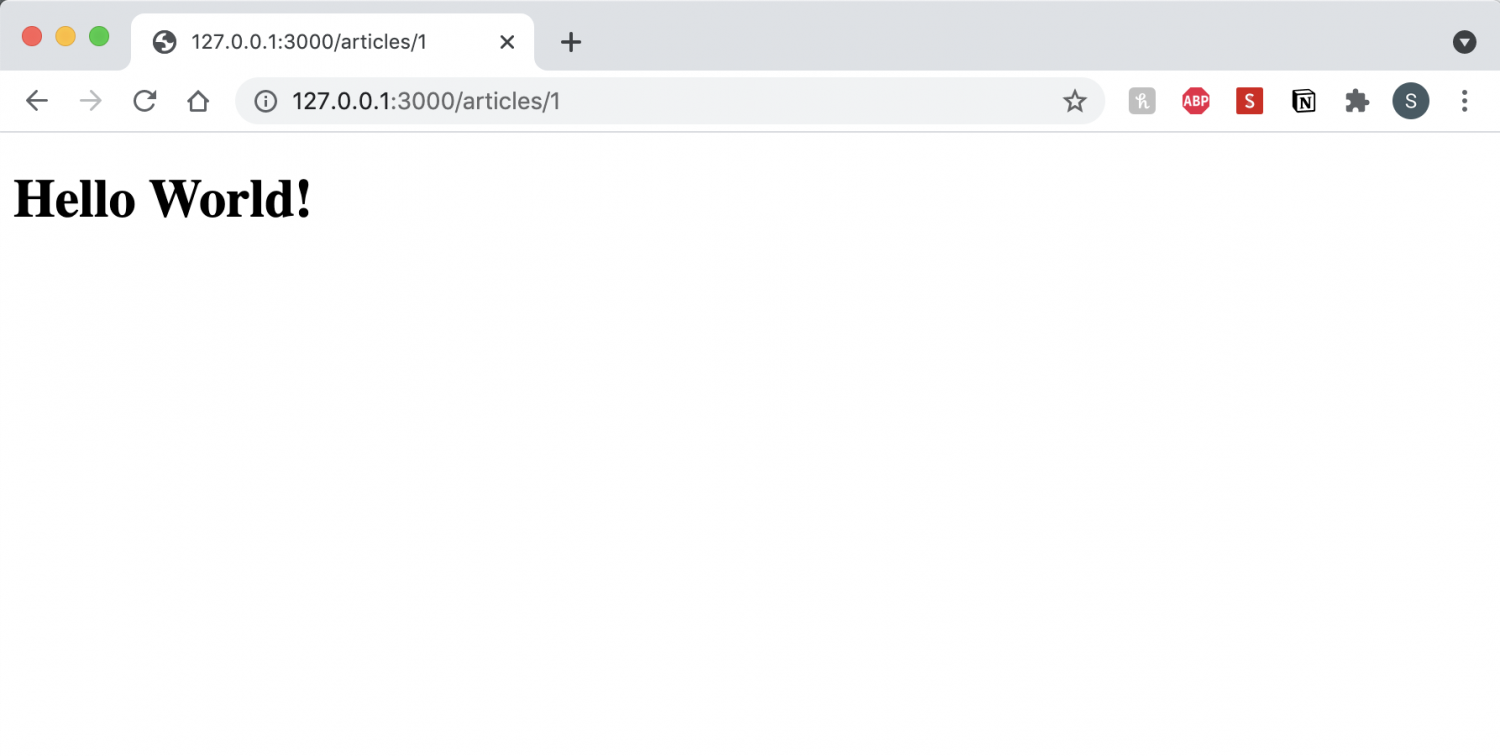
It uses all the default CSS, but it’s up and working in my dev environment!
Models & Migrations
Now it’s time for models. Dennis assures me it’s with models that Rails really gets fun.
Model: This is where we can make a class that represents data. I keep thinking of it as a little tool box with lots of different compartments for different kinds of information. You can determine what kind of information each compartment can hold.
We started by generating a model called Article in terminal:
$ bin/rails generate model Article title:string subtitle:string body:textBTW
string: a sequence of characters (but with a limit of how many).
text: a sequence of characters without a limit.
This creates a ‘recipe’ for the database which we will need to migrate, in order to add to the database. (It also created a file called article.rb in the models folder.)
The ‘recipe’ is interesting; as we can see it will create a table with columns for our ‘compartments’ of title, subtitle and body.
class CreateArticles < ActiveRecord::Migration[6.0]
  def change
    create_table :articles do |t|
      t.string :title
      t.string :subtitle
      t.text :body

      t.timestamps
    end
  end
end
But it won’t work until we act on the migration:
$ bin/rails db:migrateThe Console – a slow way to add content
Until I build a form and functionality to add content, I’m stuck with the Rails console. Still, it’s good to see how this works and better understand what the form renders otherwise invisble.
Enter the console in Terminal to add entries into our model and database. (irb> says to use the console just as $ means the Terminal)
$ bin/rails consoleWe can then go through two steps (.new and then .save) or do both of these actions at once with .create – we add in the content for each of our compartments.
irb> article = Article.create(title: "Alea", subtitle: "Elk", body: "For a stylish and hard-wearing statement pant, the Alea Pant...")This will add the content into the database, assigning the content to the appropriate column. It will also give the entry an ID (which we can search for later) and add two timestamps: created at and updated at. These auto-generated attributes are incredibly helpful for all sorts of functions.
Find & Show!
We can now call upon certain IDs or entries.
irb> Article.find(1)

Or

irb> Article.all
This last one: Article.all we can add to the controller (to make it accessible to the view) and then call it up on the Article view to have show up on that page. This makes it act as a blog archive page of sorts.
<h1>Articles of Clothing</h1>

<ul>
  <% @articles.each do |article| %>
    <li>
      <%= article.title %>
    </li>
  <% end %>
</ul>
We use ERB tags:
<% %> = to evaluate the enclosed Ruby code and;
<%= %> to evaluate
Anyway, the page now returns:
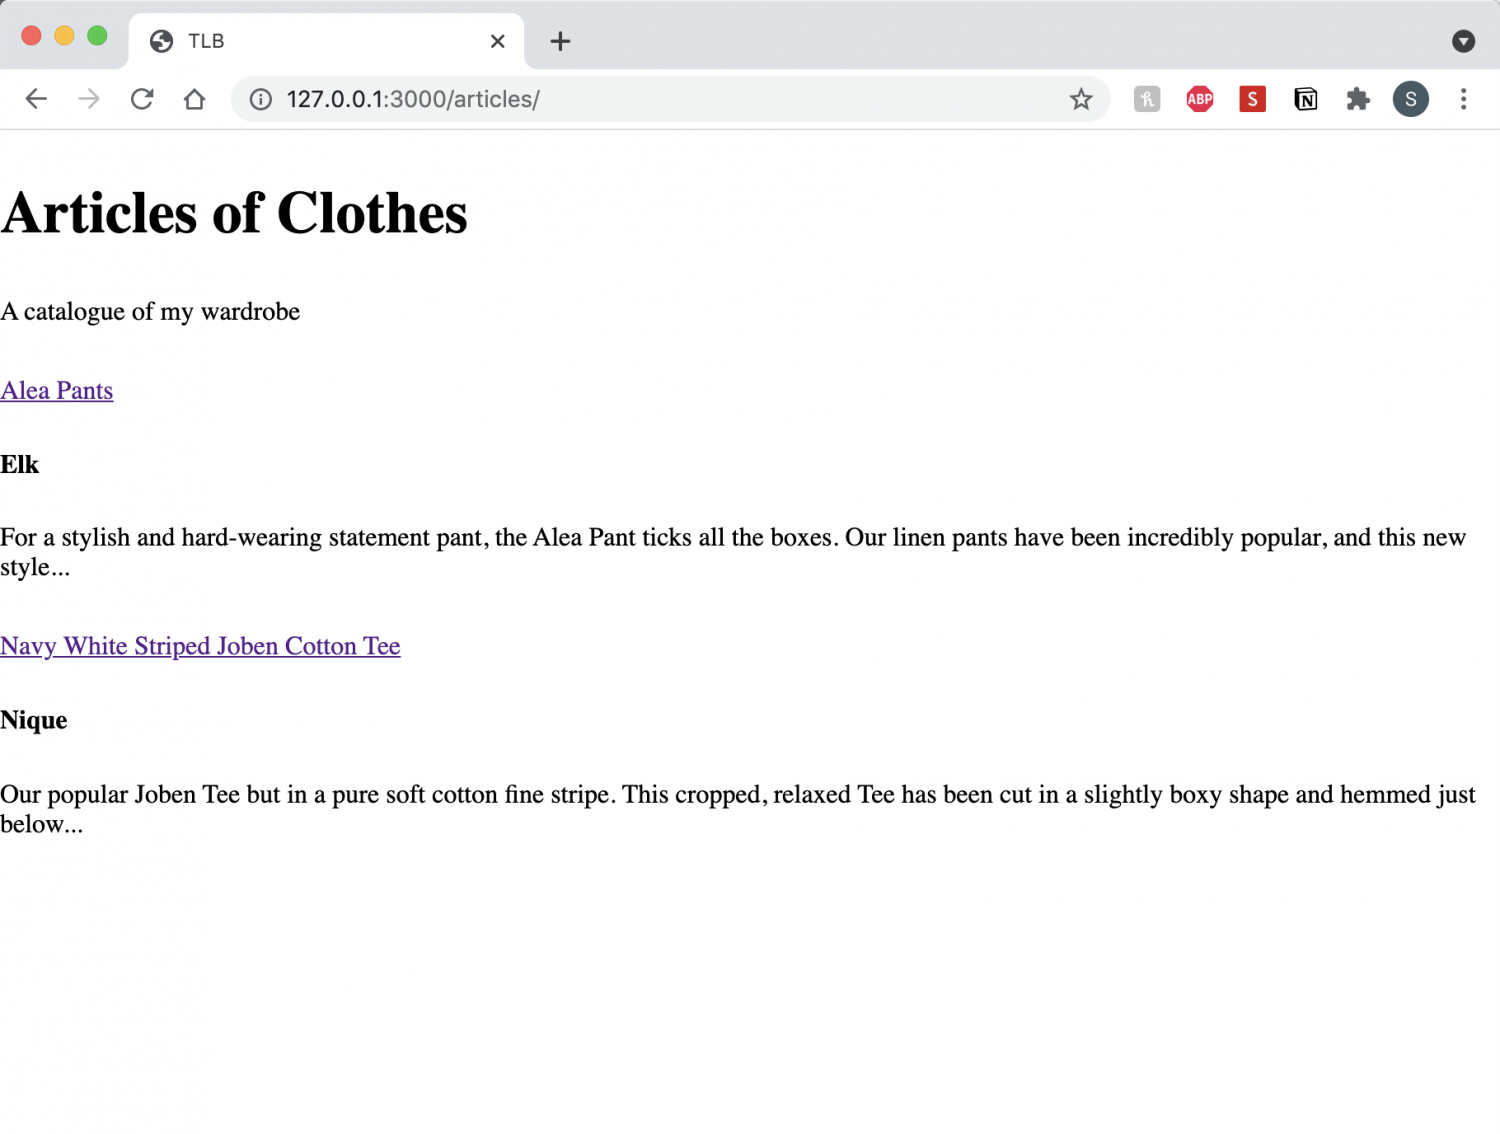
While it looks incredibly basic – and I definitely need a better name – it’s exciting to see how this can quite easily become the start of my project!
Pushed it to Github and then through to Heroku.
$ git push heroku mainLet’s leave it there for today. 🙂